We are predicting that 2023 is going to be the year of organized spaces!
Many are taking the time this January to de-clutter and re-organize their homes in an attempt to live with less. The phrase "less is more" is ringing true now, more than ever. Homeowners are realizing that the number of items in their environment is causing them more stress than happiness. No matter how many storage solutions are put in place when you have too many things, it becomes very difficult to live functionally in your space. Could living with less allow you to feel freer in your home? Regain control of your space through easier and faster house cleaning with minimal clutter. With fewer distractions around you, you may find the time to get back to the activities you love. Live in satisfaction by no longer losing items daily when you are looking for them. Do we have you convinced? If you are ready to give an entire home organizational overhaul a try, we are here to guide you through a four-step process for success.
If you are here, you have no doubt seen photos of beautifully organized spaces that are pleasing to the eye. But you may have concluded that as much as you love the look of the space, you wouldn't know how to create something similar in your home. Not to mention the concept of organization can be very stressful for many of us. The overall process involves rooms getting very messy before they get cleaned again. That begs the question, how should you start? The experts suggest focusing your organizational energy on one small project at a time, this will help you to keep calm and get through the project successfully! If your goal for January is to organize your kitchen, we are suggesting that you organize your mug cupboard, under your sink or your fridge for example. To help break down this step-by-step process, we are going to use the kitchen pantry as an example to follow.
4 Step Breakdown
COLLECT
Begin by using a basket of your choice to put items inside that do not belong in the space you are tackling. Work from the bottom of the space upward. Once the items are collected set them aside, out of view for later distribution back to their proper homes.
- In the walk-in pantry, you may find vases, cleaning products, odds and ends etc. Things that do not specifically live in the pantry are what we are recommending be removed.
EDIT
If you are able, remove the entire contents of the area you are organizing before you begin. This way you can start with a clean slate and see everything you have. This makes starting the process of letting go of what you don't need much easier. We recommend following the keep, donate, and trash method. Each item in the space must fall into one of these three categories. Remember the more items you are willing to part with the more space you will gain! Once this step is completed give the area a good cleaning!
- In the kitchen pantry, you may want to trash expired food or broken storage items.
- You can donate small kitchen appliances that get little to no use or duplicates of kitchen tools. You can also send pantry goods to a local food bank if you do not want to keep them.
- Focus on only keeping the items you love and that you plan on using shortly.
ZONE
Now that your selections have been made it is time to put the items back where they belong. We recommend creating zones within the shelves where groups of like items can live together. Each item must have a home within the space, that way it is easy to find and put back the item when the time comes. Create a map of where you would like each zone to be stored within the space. It is ok to try out different layouts until you find the configuration that works best for you, so take your time!
- Zones that can be created within the kitchen pantry could be snacks, dried ingredients, spices, canned goods, baking supplies, kitchen tools and appliances.
STORE
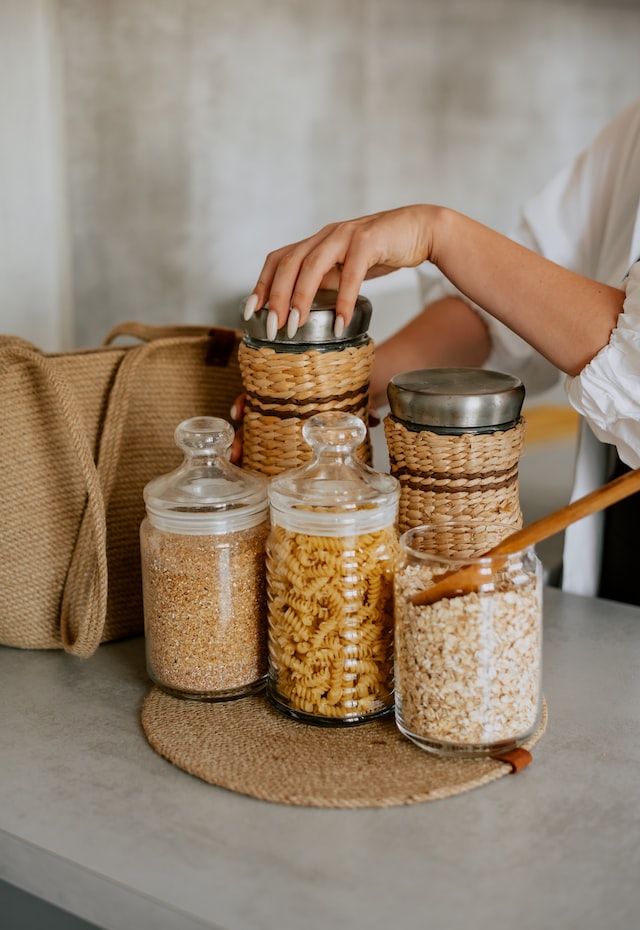
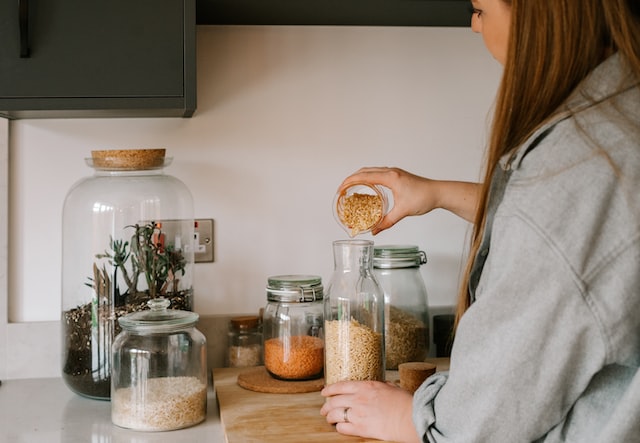
The zones have been set, now you can store their contents! When it comes to organizing items you can't go wrong by implementing a few storage solutions. You can use what you have on hand, whether that be baskets, bins, extra shelving etc. If you are looking for a more uniform look we highly recommend choosing see-through bins. You can easily find what you are looking for, making maintaining the organized space easy for the whole family to participate in. No matter how you store your items, it is important to label them for ease of use. Once the items are contained start moving them back into the space. We suggest keeping your most used items stored at eye level, your heavy bulky items near the floor and your least used items up high out of the way.
- In the pantry, you can store canned goods on 3-tiered stands, condiments on turn tables, individual snack packages in bins, and water bottles, or paper towels in large baskets on the floor.
This concludes our four-step process that will help you to organize any area of your home this year. If you are curious about how you can maintain this amazing organization that you have accomplished stay tuned for our upcoming blog that will help you keep things tidy and in order just how you like them!



Post a comment